Hoist installation procedure of Dongqi Group helps you learn more about hoist installation. Four steps hoist installation to ensure your hoist operate well. Check the hoist installation here.
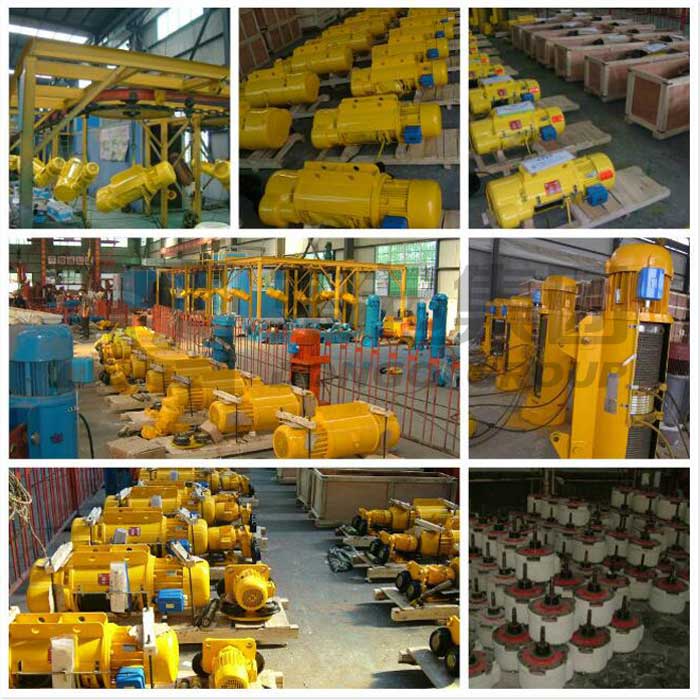
electric hoist must be tested when receive it the first time. To confirm if the electric hoist documents, manuals, certificates are complete. The equipment and spare parts should be consistent with the packing list, and the appearance of the equipment should not be damaged. Before the installation of electric hoist, the above procedure should be checked, and the hoist installation can only be installed after the qualification is confirmed.
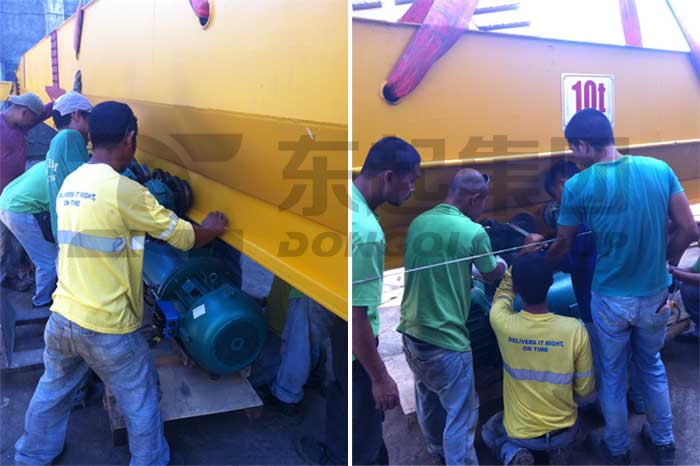
The buffer devices at both ends of the rail or i-steel must be fully installed. The support point of the I-beam shall be constructed according to the drawing, and check if the connection is firm. The splicing of the I-beam must be constructed according to the drawing. The lower flange must be polished and smooth.
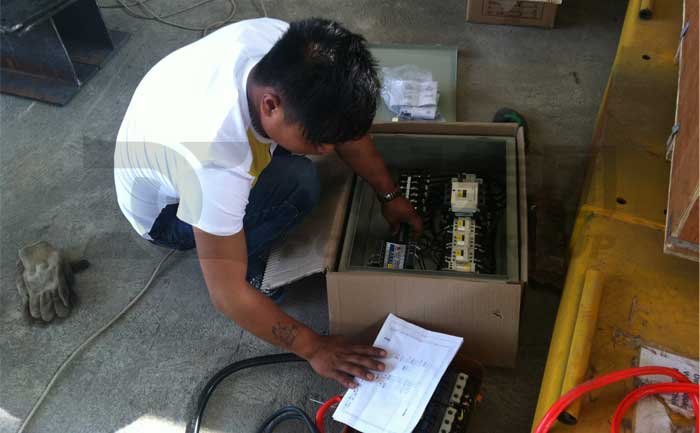
Connect Electric Wire
The hoisting of electric hoist can be installed according to the actual situation of the construction site and can be installed by mobile crane or hoist pulley group. When hoisting, it is necessary to take protective measures to protect the hoist equipment from damage. According to the weight of the equipment, the hoisting equipment rope spreader should be choose for hoisting.
Hoist Installation
The inner side of the running wheel rim of the electric hoist and the gap of the flange of the I-beam rail are guaranteed to be between 3-5mm, which is realized through the gasket adjustment. This item is the key and must be met.
The braking effect is the best when the cone rotor motor spindle axial runout is generally 1.5mm. If the electric hoist’s slip is too large at rated load, it needs to be adjusted. The adjustment method is as follows:Remove the hood. Screw out the four screws of the fixed adjusting nut, adjust the nut to the extreme position with the wrench clockwise, then turn counterclockwise, and then install the fixing screw.
The adjustment of the fire limiter is realized by adjusting the two collision blocks on the limit rod. The adjustment method is: loosen the screw on the bump block, and the block is placed on both sides of the rope guide card board, and the card board can move the bump block easily. When the motor starting to rise, the card board to move the upper limit of the bump block moves up to the hook pulley shell on the edge of the shell from the reel along the edge of 150mm ~ 50mm, stop rising, jog down button, the guide rope moves back about 10mm, stop, move the upper limit of the bump block near the card board, tighten the screw. The adjustment of the lower limit position is the same, but it is in the opposite direction, but it must ensure that the reel left more than 3 laps when the hook is in the lowest position.
After connecting the power supply, check if the motor is in the same direction as the control button, and then follow the following steps:
Start the operation of each mechanism under no-load, check if the control circuit is correct, and if the limit device and other electrical equipment is reliable.
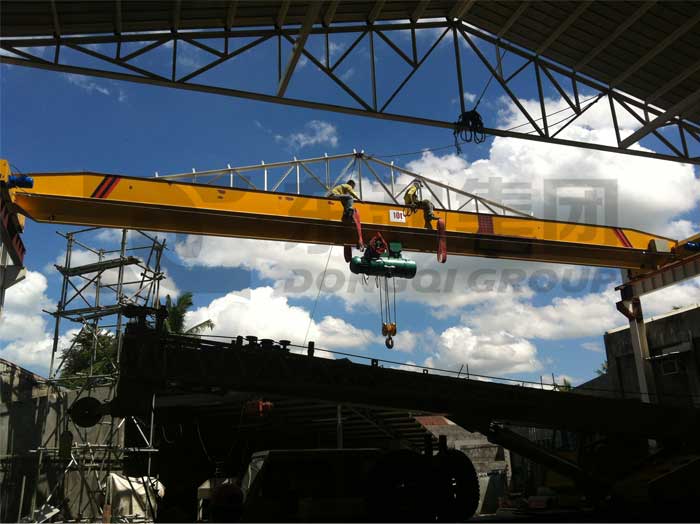
When the traveling mechanism is not moving, the test hoist is carried out at 1.25 times rated load, and the load rises about 100 mm from the ground, and it is suspended for 10 minutes, check if the each mechanism works normal.
Under the condition that the static load test results are good, the load test with the rated load of 1.1 times is carried out, and the experimental period is 40s: lifting up:6s, stop 14s, lifting down: 6s, stop 14s, and carry out 15 cycles. After the experiment, check whether there was an abnormal phenomenon in each part or not, if not, the hoist installation is qualified.
Dongqi Group can provide you not only crane and hoist but also hoist installation and crane installation service according to your need. Please feel free to contact us if you have any need about crane and hoist.
 Electric Hoist Trolley| Electric Winch Trolley
 ND European Electric Hoist
 HD Electric Hoist Overhead Crane